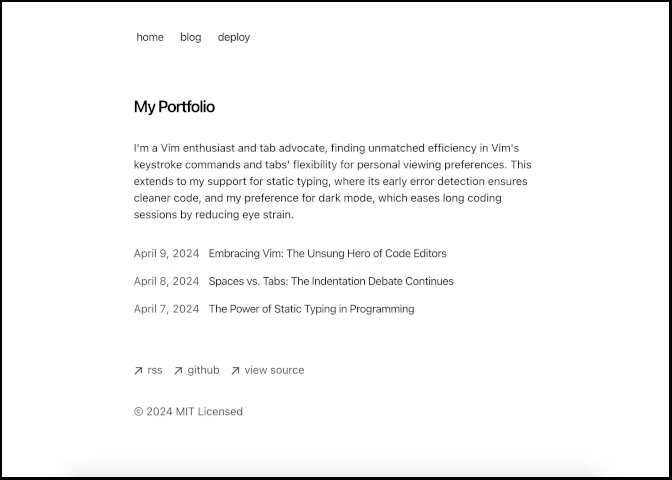
When running my own blog, there are actually two kinds of activities. First is writing blog articles and the second one is improving the blog engine. This is fun to me and I want to briefly tell you about how the blog evolved since I published the initial version of it.
The starter kit
I made a decision to choose something simple and flexible, so I can have a little bit of fun in the sandbox.

The choice was Next.js with a portfolio starter kit. It was made to generate static pages based on MDX files where blog posts are written down in Markdown. Also hosting it on Vercel was kind of a natural choice in such a case.
Continuous improvement
There’s always something to improve to give the website a friendly look and feel. When you do that in your free time, it’s a continuous process. Little step by step, to show a piece of yourself, your work and experience in a small app.
New layout for the home page
Improved home page layout comes with banners for recent and featured blog posts. They bring life to the site and allow users to quickly start reading promoted content.
Code highlighter replacement
Initial version included a code highlighter based on sugar-high package. Its possibilities were limited and it was messing up colors in complex TSX snippets. I made a decision to replace it with shikijs library and it was a really good choice. Pictures below show sugar-high and shikijs code blocks - the second one knows many languages, doesn’t mess up colors in large bunches of code and even supports classic Monokai theme.

MDX parser replacement
Code highlighter change forced another change since I couldn’t parse Markdown content with next-mdx-remote anymore. Now I use remark to turn Markdown into HTML and then I use rehype for further processing. That’s how this blog post got transformed from Markdown stored in an MDX file to a static page served by Next.js.
const postContent = await unified()
  .use(remarkParse)
  .use(remarkRehype, { allowDangerousHtml: true })
  .use(rehypeRaw)
  .use(rehypeShiki, { theme: "monokai" })
  .use(rehypeStringify)
  .process(post.content);
Tags added to blog posts
Since the blog page was just a simple list of articles, I’ve added filtering by tag to it. The change included routing, UI and content source changes.
- Content source. Every blog post now contains a list of comma-separated tags in the metadata section of the file.
- Routing. New static paths are generated at build time for
/blog/tag/[tag]path name. Their purpose is to serve pages with lists of articles for given tags. - UI. The blog page layout contains a list of tags (only those which are assigned to at least two blog posts) and each of them link to a proper page dedicated for the tag.
Looking into the future
This is definitely not the end since I have a lot of ideas written down in a “to do” list - both for articles and the blog UI.
Thanks to running a blog, I can finally show something to the world - a bit of my knowledge and experience. This is important to me since usually I’m not allowed to share the results of my work with anyone. Silence is golden - especially when it comes to clients' business.
